Azure Mobile Services is definitely one of the coolest technologies in the Azure family. One of the issues however, has been that it only has client libraries for Windows 8, iOS and Android, making it a bit more difficult for developers targeting other platforms (also web browsers!) to take advantage of its capabilities.
A while ago, I blogged about how to work around that - by using ZUMO REST API. However, you still didn’t have access to one of the nicest features of ZUMO for mobile devices - and that is push notifications. That changed recently, when ZUMO announced a partnership with Pusher, to provide push notifications for virtually any client.
Additionally, the team recently released another cool feature - scheduled tasks (cron jobs). Let’s see how you can use it all together to quickly build a realtime service.
More after the jump.
Adding Pusher to your Azure Mobile Services account 🔗
Pusher, as a 3rd party tool, needs to be explicitly added to your Azure Mobile Sevrices account. Head over to Azure Management Portal and choose Add-ons from the left hand menu.
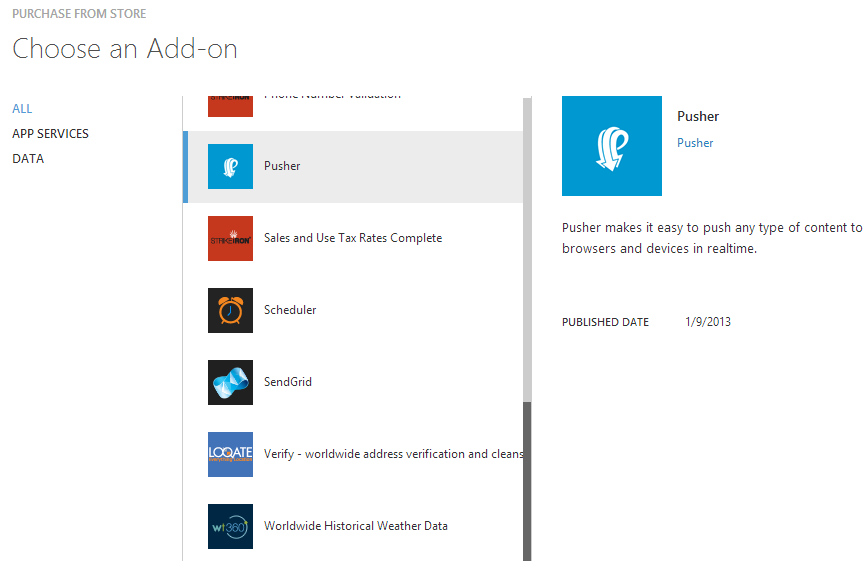
Find Pusher there.
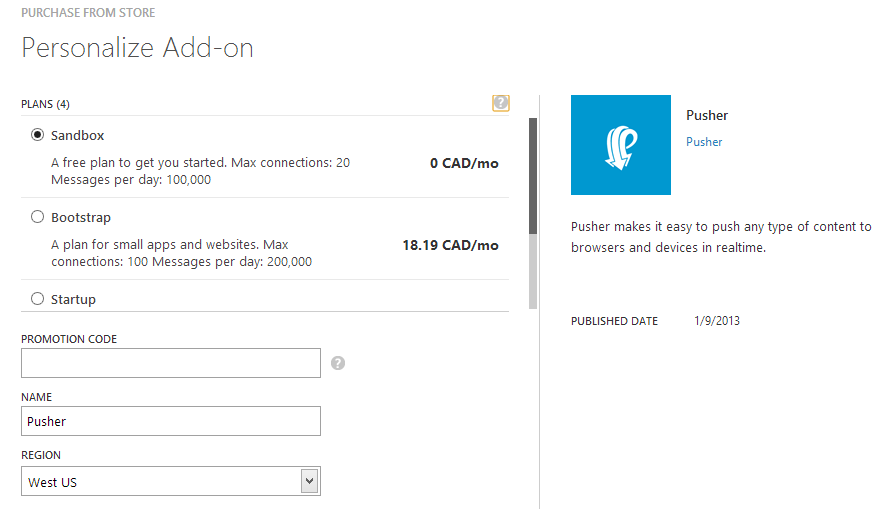
You can choose the free development account for now.
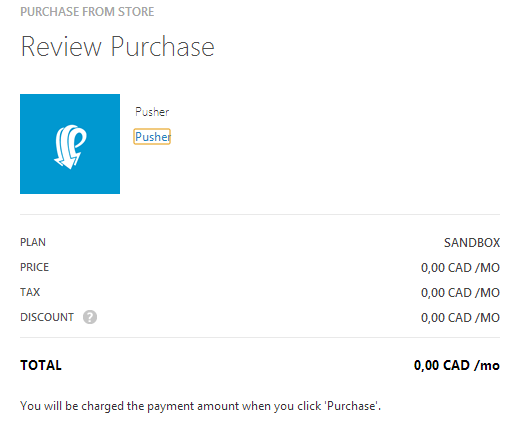
Review the purchase, OK.
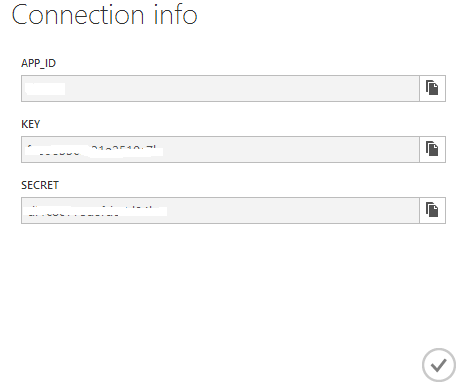
And you end up with a Pusher account available to be used in your ZUMO application. Notice the button at the bottom, “connection info”. This is the connection info you’ll need.
Pusher provides an abstraction over web sockets allowing you to… well, push data to connected clients. Actually, if sockets are not available it falls back to Flash. It supports all the major development platforms, but what interests us for the purpose of this article, is that it provides a JS library for use in the browsers directly.
Cron jobs in Azure Mobile Services 🔗
Another new feature of ZUMO is the ablity to schedule tasks (cron jobs, as they are affectionately called). To create a cron job, there is a new tab under your mobile service management page, called “Scheduler”.
This + pusher - that’s all you need to build something cool. Let’s have a look together.
Creating a realtime app 🔗
Consider the following example. All the music that I listen to (mainly on Spotify, but also on other devices) I “scrobble” to last.fm. This builds up my listening history which can be retrieved from last.fm API in XML/JSON format.
So I had this idea - why not run a scheduled task that retrieves my listening history from Last.fm i.e. every 15 minutes, and save that to a ZUMO table? Additionally, as we get the new data, we can push it to the subscribed clients using Pusher. This will result in my listening data being pushed down to subscribed clients in real time, as I listen to music (or rather as ZUMO cron jobs pick that up from last.fm, but that’s almost the same).
Let’s create a new cronjob that will pick up data from Last.fm API. Actually, I already blogged about last.fm API before, so will not go into details of consuming it again.
Adding a new scheduled task:
This gives you a JS window to implement the actual task that will execute (a reminder - Azure CLI is JS).
A simple implemention of accessing a Last.fm API might look like this:
var request = require('request');

function lastfmGetter() {
var trackTable = tables.getTable('lastfm');
var api_url = 'http://ws.audioscrobbler.com/2.0/?user=littleidsdog&method=user.getrecenttracks&apikey={{YOUR API KEY}}&format=json&limit=15';

checkLatest(api_url, getLatest);

function checkLatest(api_url, callback) {
trackTable
.orderByDescending('date')
.read({
success: function(items) {
if (items.length) {
console.log('found latest: '+items[0].mbid);
getLatest(api_url, items[0].mbid);
} else {
getLatest(api_url, "x");
}
}
});
}

function getLatest(url, last_id) {
request(url, function (error, response, body) {

if (!error && response.statusCode == 200) {
var result = JSON.parse(body);
if (result && result.recenttracks) {
console.log('latest is: '+result.recenttracks.track[0].mbid);
var i = 0;
while (result.recenttracks.track[i].mbid != last_id) {
var track = result.recenttracks.track[i];
//not "now playing" && has id
if (track.date && track.mbid) {
var newSong = {
mbid: track.mbid,
artist: track.artist["#text"],
trackname: track.name,
album: track.album["#text"],
image: track.image\[0\]\["#text"\],
date: track.date["#text"]
};
trackTable.insert(newSong);
}
i++;
}
}
} else {
console.error('Something happened!');
}
});
}
}
This goes out to Last.fm using my API key, and pulls history (15 latest) songs of my user. We then iterate through results and save the data to a ZUMO table I just created - “lastfm” (using the Table.Insert method).
Prior to inserting data, we get the mbid (last.fm ID) of the last inserted item in the DB and when we insert the batch from last.fm - we only insert until we encounter this item - to avoid duplicates.
We can now save the job, and run it manually and/or enable it for scheduling (as of now, 15min is the smallest possible interval).
However, we still need to add Pusher, but this is unbelievably easy.
The new script looks like this:
var request = require('request');
var Pusher = require('Pusher');

function lastfmGetter() {
var trackTable = tables.getTable('lastfm');
var api_url = 'http://ws.audioscrobbler.com/2.0/?user=littleidsdog&method=user.getrecenttracks&apikey={{YOUR API KEY}}&format=json&limit=15';

checkLatest(api_url, getLatest);

function checkLatest(api_url, callback) {
trackTable
.orderByDescending('date')
.read({
success: function(items) {
if (items.length) {
console.log('found latest: '+items[0].mbid);
getLatest(api_url, items[0].mbid);
} else {
getLatest(api_url, "x");
}
}
});
}

function getLatest(url, last_id) {
request(url, function (error, response, body) {

if (!error && response.statusCode == 200) {
var result = JSON.parse(body);
if (result && result.recenttracks) {
console.log('latest is: '+result.recenttracks.track[0].mbid);
var i = 0;
var pusher = new Pusher({
appId: '{{YOUR\_PUSHER\_APP_ID}}',
key: '{{YOUR\_PUSHER\_KEY}}',
secret: '{{YOUR\_PUSHER\_SECRET}}'
});
while (result.recenttracks.track[i].mbid != last_id) {
var track = result.recenttracks.track[i];
//not "now playing" && has id
if (track.date && track.mbid) {
var newSong = {
mbid: track.mbid,
artist: track.artist["#text"],
trackname: track.name,
album: track.album["#text"],
image: track.image\[0\]\["#text"\],
date: track.date["#text"]
};
trackTable.insert(newSong);
console.log("starting push" + newSong.trackname);
pusher.trigger( 'test\_channel', 'my\_event', newSong );
}
i++;
}
}
} else {
console.error('Something happened!');
}
});
}

}
So we include Pusher library, add an instance of the connection (through your Pusher credentials) and simply call the trigger method after we have inserted a new song to the DB. Pusher has concepts of a channel (default: ’test_channel’) and events (default: ‘my_event’) that allow you to have granular control over what you are pushing, in which context.
That’s it! The really cool thing is that Pusher gives us client libraries for virtually any client - which means we can push out these updates to almost any device. Let’s have a look at a browser (web page) client implementation.
Adding browser side 🔗
Let’s add some simple HTML that will display the songs. We will include Knockout.js to provide live data bindind, and of course, Pusher JS library to allow us to connect to the channel into which ZUMO is pushing data.
HTML might look like that:
<div class="page-header">
  <h1>
    What Filip is listening to? <small>Showing <small
            data-bind="text: tracks().length "></small> <small>tracks.</small></small>
  </h1>

  <div>
    <i>Brought to you by <a href="https://strathweb.com">strathweb.com</a></i>
  </div></p>
</div>

<div data-bind="template: { name : 'trackTemplate', foreach: tracks }">
</div>
So a basic set of song info + we include jQuery, jQuery-tmpl for templates (cause I like it 🙂 ), Knockout and of course Pusher JS.
Finally I need to add a bit of Pusher/Knockout JS to enable the view model and listening to notification:
var viewModel = {
tracks: ko.observableArray([])
}

ko.applyBindings(viewModel);

var pusher = new Pusher('{{YOUR\_PUSHER\_KEY}}');
var channel = pusher.subscribe('test_channel');
channel.bind('my_event', function (data) {
viewModel.tracks.unshift(data);
});
Now if I run this in the browser - it’s empty, obviously, since we didn’t load any data. But it’s waiting for updates now.
If we leave the page open for a while it will start filling with songs. In fact what I did, while I was writing this post, I was listening to music & I left the page open - and here is how it looks, with 14 tracks showing up:
Pretty cool functionality, eh? All in, what, less than 1h of coding?
Summary 🔗
I wrote a while ago, that Azure is one of the most innovative platforms these days, and if you are not yet on the bandwagon, you should consider hopping on 🙂 I really like the simplicity of Azure Mobile Services (just dump a JSON into it, manage it with Javascript…) - and now with the addition of cron jobs and push notification to virtually any client it has really become an attractive option to explore for your next project.


